 实战
实战

# Server端
这里采用express进行演示,首先需要安装几个npm包:
npm i express express-graphql graphql -S
1
express: 搭建服务express-graphql:graphql相关中间件graphql:核心包
const express = require('express');
const { graphqlHTTP } = require('express-graphql');
const { buildSchema } = require('graphql');

const schema = buildSchema(`
    type Account {
        name: String
        age: Int,
        sex: String,
        salary(city: String): Int
    }

    type Query {
        name: String
        age: Int,
        account(username: String!): Account
        accounts: [Account]
    }

    input AccountInput {
        name: String
        age: Int,
        sex: String
    }

    type Mutation {
        createAccount(input: AccountInput): Account
    }
`)

const root = {
    name() {
        return '陌路'
    },
    age() {
        return 18
    },
    account({ username }) {
        return {
            name: username,
            age: 17,
            sex: '男',
            salary({ city }) {
                if (city === '上海') {
                    return 10000
                }
                return 3000
            }
        }
    },
    createAccount({ input }) {
        db[input.name] = input;
        return input;
    },
    accounts() {
        let arr = []
        for(const key in db) {
            arr.push(db[key])
        }
        return arr
    }
}

let db = {}

const app = express();

app.use(express.static(__dirname + '/public'));

app.use('/graphql', graphqlHTTP({
    schema,
    rootValue:root,
    graphiql: true
}))

app.listen(4000, () => console.log('listening port: 4000'));
1
2
3
4
5
6
7
8
9
10
11
12
13
14
15
16
17
18
19
20
21
22
23
24
25
26
27
28
29
30
31
32
33
34
35
36
37
38
39
40
41
42
43
44
45
46
47
48
49
50
51
52
53
54
55
56
57
58
59
60
61
62
63
64
65
66
67
68
69
70
71
72
73
74
75
76
2
3
4
5
6
7
8
9
10
11
12
13
14
15
16
17
18
19
20
21
22
23
24
25
26
27
28
29
30
31
32
33
34
35
36
37
38
39
40
41
42
43
44
45
46
47
48
49
50
51
52
53
54
55
56
57
58
59
60
61
62
63
64
65
66
67
68
69
70
71
72
73
74
75
76
从上面的实例代码来看,这里主要分析一下流程逻辑:
- 编写
schema,定义接口类型等。 - 编写
resolver,代码中root对象中的一个个函数就是需要暴露给客户端调用查询的字段各自的resolver,用于处理如何返回数据 - 实例化一个
express对象 - 添加相关中间件
- 启动服务
有关于express相关的教程网上很多这里就不进行细说了,主要讲一下这个graphqlHTTP用到的几个配置项:
schema:就是我们上文提到的schema,不过这里需要先利用buildSchema处理一下用字符串编写的schema语句(可以说是语法糖)rootValue:包含所有能被客户端访问到的字段的resolver对象graphiql:本地调试工具,开发环境使用(巨好用)
然后我们看看如何借助graphiql工具调试我们的服务吧:

这里可见有中间两部分分别对应请求和响应,右侧还有一个侧边栏,相当于文档,如果这个字段是对象,还可以继续点进去看它包含的字段有哪些。
具体查询语句上文也有提到这里就不多赘述了,其实也很清晰了,你需要什么字段,就写上对应的字段名即可得到想要的响应。
# 客户端
上面我们介绍了如果使用本地调试工具进行接口调试,那么现在就来讲讲怎么在实际的浏览器端进行接口调用吧:
<script>
        function queryData() {
            const query = `
                query ($username: String!) {
                    account(username: $username) {
                        name
                        sex
                        age
                    }
                    age,
                    name
                }
            `

            fetch('/graphql', {
                method: 'POST',
                headers: {
                    "Content-Type": 'application/json',
                    "Accept": 'application/json'
                },
                body: JSON.stringify({
                    query,
                    variables: {
                        username: "陌小路"
                    }
                })
            }).then(res => console.log(res.json()));
        }
    </script>
1
2
3
4
5
6
7
8
9
10
11
12
13
14
15
16
17
18
19
20
21
22
23
24
25
26
27
28
29
2
3
4
5
6
7
8
9
10
11
12
13
14
15
16
17
18
19
20
21
22
23
24
25
26
27
28
29
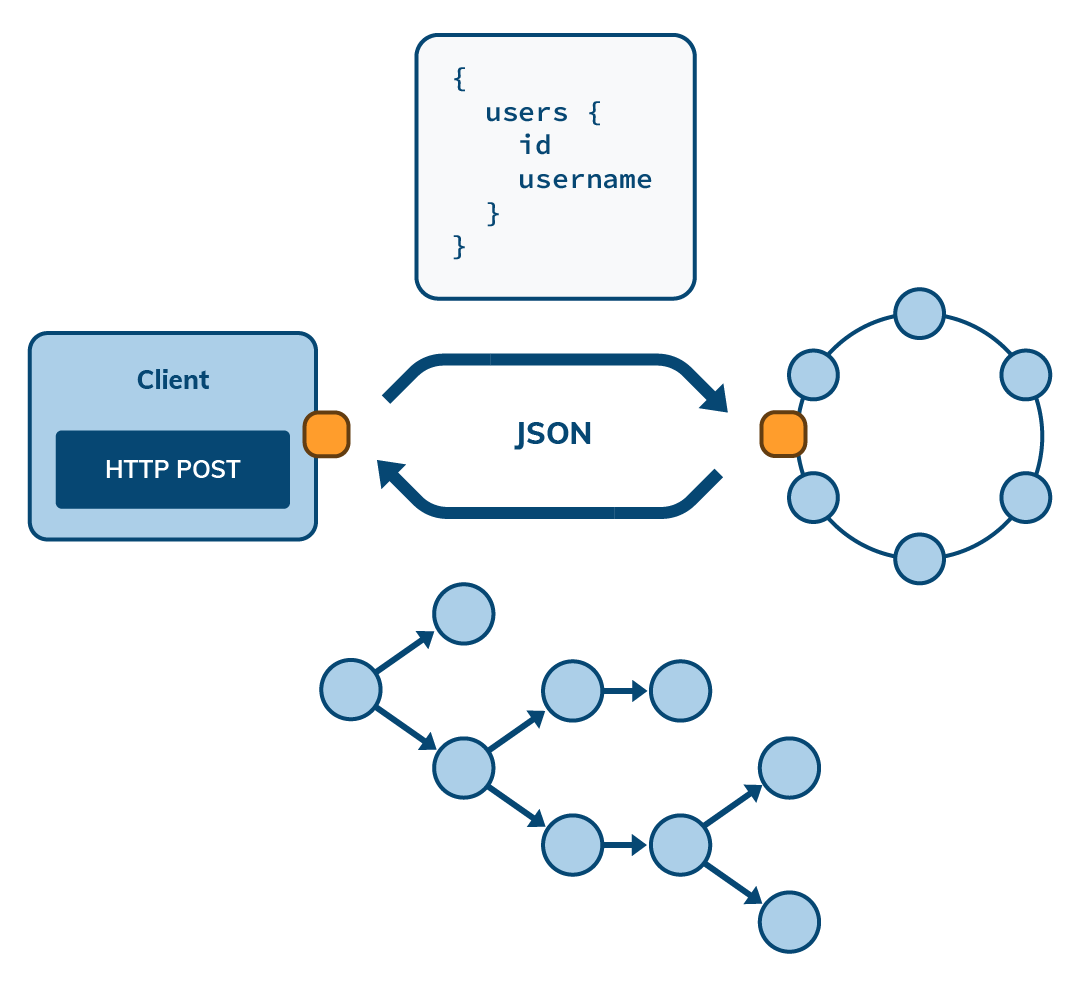
同样先分析一下流程:
- 构建查询参数,也就是上述调试工具中我们写的查询语句,这里用字符串包裹起来,一般是使用模板字符串比较实用。
- 设置请求参数与请求头
- 发起请求
对于请求参数这里再进行一下详细解析,首先需要给body传递一个被序列化的参数,内容包含:
query:查询语句variables:语句中用到的请求参数
这里可能就会有小伙伴懵逼了,这个查询语句中的$username是用来干嘛的,服务端也没有定义这个参数啊,其实这个$username就是用来对应我们在请求的时候传给body的variables对象中的username,只不过需要在前面加上一个$符号进行标识的。
这样整个前后端在GraphQL体系下的交互方式也差不多讲解完了。
# 总结
总的来说,对于GraphQL这项技术未来是否能替代RESTful体系也不好说,只不过这相对于传统的RESTful架构是一种截然不同的概念,我们可以选择在新项目中进行尝鲜,也可以在老项目中进行架构调整,迁移到GraphQL,甚至可以两者皆存。这两种架构都有各自的优劣,我们可以根据我们自身的需求进行选择。总之,我相信GraphQL的发展潜力还是很大的,希望未来能将现存的不足进行更好的改进吧。
上次更新: 2025/06/01, 13:06:00